I'm a day late posting the Tutorial Tuesday, but the bonus is, I'll be posting twice today, so be sure to check back later for the BFF's Stampin' Corner Challenge as well.
Here is the card I designed for the tutorial called Brick-wall.
Brick-wall Tutorial
Card Base measures 4 1/4" x 5 1/2"
White Card Base 3 7/8" x 5 1/4"
Yellow Base 3 3/4" x 5 1/8"
Here is what you'll need for the brick portion:
Steps to making bricks:
1. Choose a background stamp large enough that can be cut down into smaller rectangle "brick" shapes.
2. Ink the stamp with your choice of ink (Old Olive used here) and stamp onto white card stock.
3. Trim down the stamped image.
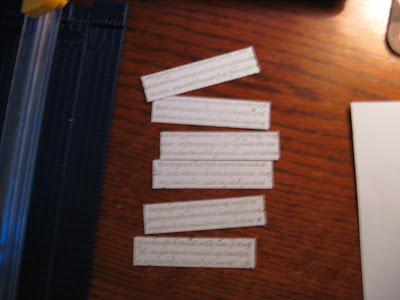
4. Place paper into cutter and cut strips horizontally at 3/4" wide, like so.
5. Place these strips into cutter and cut them at 1 1/2" sections. (There will be a small amount of paper to discard from these strips, unless you choose to alter the size of the brick here).
6. Using your sponge and Ink, darken the edges of each brick piece (Old Olive used here).
Steps to placing bricks:
1. Place bricks at your discretion about 2/8" up from the bottom and top of yellow card stock.
(Note: I cut 12 pieces or bricks originally but only had room for 10)
Steps to second image:
Here is what you'll need for this part
1. Rub anti-static pad across the bricks.
2. Ink up your stamp with VersaMark and stamp over the bricks.
3. As before, in previous tutorial, cover stamped image with clear embossing powder, removing excess, and heat dry until clear.
4. It's not included in this picture, but take your sponge and ink over embossed image with a darker color (Close To Cocoa used here).
5. Using a paper towel or Swifter dusting rag, rub off excess ink.
It should look something like this...
The End:
1. Simply mat the yellow CS onto the white CS background and then adhere this to the card base.
2. Embellish to your liking.
Thanks for looking!


5 comments:
Love this card!
Wow..I just posted this. Thanks Shelly! :D P.S. Your Bunny card was AMAZING..thank you so very much!!!
Wonderful technique, Lisa! Thank you so much for sharing it with us!
great job! This one could easily turn into a masculine card!! :) *thinking ahead to fathers day*
I'm learning so much stuff from you guys!! Thanks for teaching!
Thank you Irina and Jennifer :)
Post a Comment