Monday, June 11, 2012

Earring Box Becomes Business Card Holder

Fun, Fun, Fun!
That's all I have to say about this project...
 It started out like this
 And evolved to this by covering the exterior of the box parts with My Mind's Eye paper (Portobello Road and Market Street)with Mod Podge and then lining the insides with Mod Podge and tissue paper.  I then used the Tim Holtz Distress Crackle Paint Resist Technique found here.
 I used Picket Fence Crackle Paint for the first layer.  Then inked with TH Vintage Photo and as I only have 2 distress inks, I substituted the process with Stampin' Up Ink using Old Olive, Brocade Blue and More Mustard and then applied over all of that, more Vintage Photo DI.
 Then using Stazon Ink I stamped into the top and bottom sections using Stampin' Ups! Established Elegance stamps.  Once this was done, I completed the TH technique by spritzing it all with water and wiping it down exposing the crackles and absorbed ink inside.  The edges of the boxes were also touched up with the assorted colors as well.
 Now for the embellishing part.  The front flourish and the little angel were both gold and way to bright so I've pressed them into Versamark and applied Opaque Finish embossing powder.  A light sanding over the top of them and then a coat of Vintage Distress Ink to complete their look.

The wings I designed out of  Sculpey clay then baked them in the oven at 275 degrees for 15 minutes.  I've distressed them with Vintage DI, spritzed them with water and then sporadically sprinkled more Opaque Finish embossing powder to them.
The final step was gluing on the little wooden knobs for feet.

Finally I measured a faux business card to sit inside as an example.
I really hope you like this project and decide to save ALL those jewelry boxes!!

Thank you so much for stopping in to visit...
Have a great one.
Hugs n' Happy Crafting,
Lisa xx

Challenges I would love to enter this project in:
Our Creative Corner - Favorite Tim Holtz Technique (I apologize for not using only Tim Holtz products, but I did apply the technique just the same. Hope that's okay!)
Recycle, Re-purpose, and Re-Invent - Anything Goes
Crafty Cardmakers - No Cards, Tags or ATC's

Sunday, June 10, 2012

Silhouette Butterflies....

Well, hello there again and welcome back!
 You ever seen that movie, Cool Hand Luke?  There's a famous line in it that goes, "What we have here is...failure...to...communicate."  Seems my brain recited this several times through the process of creating this card.  It's absolutely NOTHING like I visualized; however, mission accomplished anyway.  I found it quite difficult to make this gorgeous image 'dainty.'   Don't get me wrong, I love the image, but I saw it going more in a monochromatic path, so this jobby is completely off the mark from what I intended.  I'm actually pretty pleased that communication within my own head was garbled, it's different and I like it. :)
The designer paper is a free digital download from Far Far Hill.  Accompanied with a bit of stitching, three layers of the silhouette image Butterfly Flowers from our sponsor Bugaboo.  A few UTEE covered flourishes and leaves from the TH die Festive Greenery.  Die cut leaves from Stampin' Up as well as the brown punched flowers with Baby Blue Stickles and pearl centers. 

We'd sure love to see what you've been up to creatively and there's always room to share it in our linky parties.  Speaking of which, here is my POTW from last week's #92 Linky Party.
PICK OF THE WEEK!
This is #163 from Grace at Th-Ink-ing Of You and it's just gorgeous.
I love the fabulous soft colors, the intricate framing and flourishes with the gorgeous flower arrangement and delicate music paper in the background.  What a beautiful way to showcase this sentiment. :)

Thank you so much for stopping in and visiting. I can never thank you enough for all the smiles you give me daily!
Hugs n' Happy Stamping...
Lisa xx

 .
Prize is:  The choice of 7 single digis!!!

Tuesday, June 5, 2012

Can Someone Get The Door?

edited - You really need to see the latest post by Mitra...a story that could only be described with her style.
This little door and I have quite a history together.  I received this nearly a year ago from my wonderfully creative and talented blog friend Mitra.  Originally we had collaborated on blogging a "door theme" together, based on a card I'd done.  She actually made this little door with hinges from the frame she had purchased awhile back.  When she sent it to me, the inspiration was Halloween.  Like I said, I've had it for a bit.  She even included a stained glass window on it!
I've black embossed one of my favorite quotes stamps on the front door that says,
"What of the dreams that never die?
Turn to your left at the end
of the sky." from e.e. cummings
 Below are the pictures of how the door arrived to me with her original work.  Amazing, right!!!
 She even gave me a head start with the Halloween theme by including a scenery on the inside!
 Well, Halloween has since come and gone and still the door taunted me.  "Work with me, use me, get off your ass and make something with me!"  I'm sure I don't need to expound, we've all had that happen to us; inanimate objects torturing our artistic souls. 
It finally happened, the planets aligned and the cosmos saw fit for me to complete this project.  I did ask Mitra if she would mind me changing the genre and her words were "GO FOR IT!"
Here it is with the door opening...
 And here is the completed inside!
I also must give credit to another crafty blog for spurring the idea. 
Our Creative Corner is hosting a very cool challenge theme of  Embellished Frames.
I figure, it's a door frame, it should count, but just in case, I've added a frame inside the door frame; which I baked.
 Here's a shot so you can see the full scale of the very cool door from Mitra.

 Here's a few shot of how I made the frame, the crown, and the flowers.


Viola!  All done.
The frame was baked to meet the criteria of the challenge and because I wanted to see if I could do it.  The crown symbolizes strength and courage to accomplish all you set out to do and the flowers, well, they're just pretty foo-foo.  The woman I chose to be in red because it's a striking color that attracts your attention and focuses you in on the message. To me, it shows confidence and boldness.

I didn't want to stay with Halloween because the gift in itself is SOOO special and something this wonderfully crafted and thoughtful should stay out in full view ALL the time.  Therefore, I wanted the theme to be inspirational always.

Okay, that's it for me.  I hope you've enjoyed looking at my altered door frame and you'll find your way over to Mitra's blog to see why she is such encouragement to me AND hop over to Our Creative Corner and show off a frame or two of your own.

Hugs n' Happy Stamping and never ignore the knock at the door!
Lisa xx

Challenges I would like to enter this project in...
Our Creative Corner - Embellished Frames
Art With No Boundaries - Anything Goes (just missed the frame challenge, ah well.)

Sparkles Galore, literally!

Hello!
(long winded post...reader beware...LOL!)
 I'm so glad you stopped by so I could rant.  Almost had this little card completed.  I could see the finish line, when my elbow; yes, my elbow, decided to plunge right smack into the center of this card and not only smeared all the glitter onto my shirt, but the glue under the little pink Bear's mouth...dragging the inked outline right up into her paper pieced mouth.  Miffed you asked?? Ohhhh, just a bit!
Error on the operator's side? Quite possibly as I am not known for having the most patience while waiting for blobs of glitter and stickles to dry.  I figure 30 minutes OUGHT to be a sufficient amount of time and it usually is, but not today!
Another 30 minutes later, after wielding an X-ACTO Knife and scrapping up all willy nilly  remnants of glitter, I gently re-applied the stickle dots and allowed them to dry completely whilst making sure no other appendages decided to go wandering again.
The last step was dealing with the smear on the mouth. I decided that if it works while coloring with copics, why not with inked outlines.  So I applied the colorless blender pen and pushed the black ink back to the edge. 
 BUT...then I went and grabbed the wrong copic to "fill in" a bit on the mouth and now it's too dark of a pink! GAK!   I've decided I'm just going to put a boat load of money in the card and they'll NEVER even notice! :) 
 Anywho, enough of that...
Before I completely botched the card, I couldn't resist this cute little bear couple, Lenny Cupcakes 2 from one of our Sponsors, Stamp Fairy.  The other aspect of this card was to meet the challenge criteria we have going on at Top Tip Tuesday which is
SPARKLES GALORE!!
We would love to have you join us for this two week's challenge and show us how you wear sparkles on your clothes use sparkles.
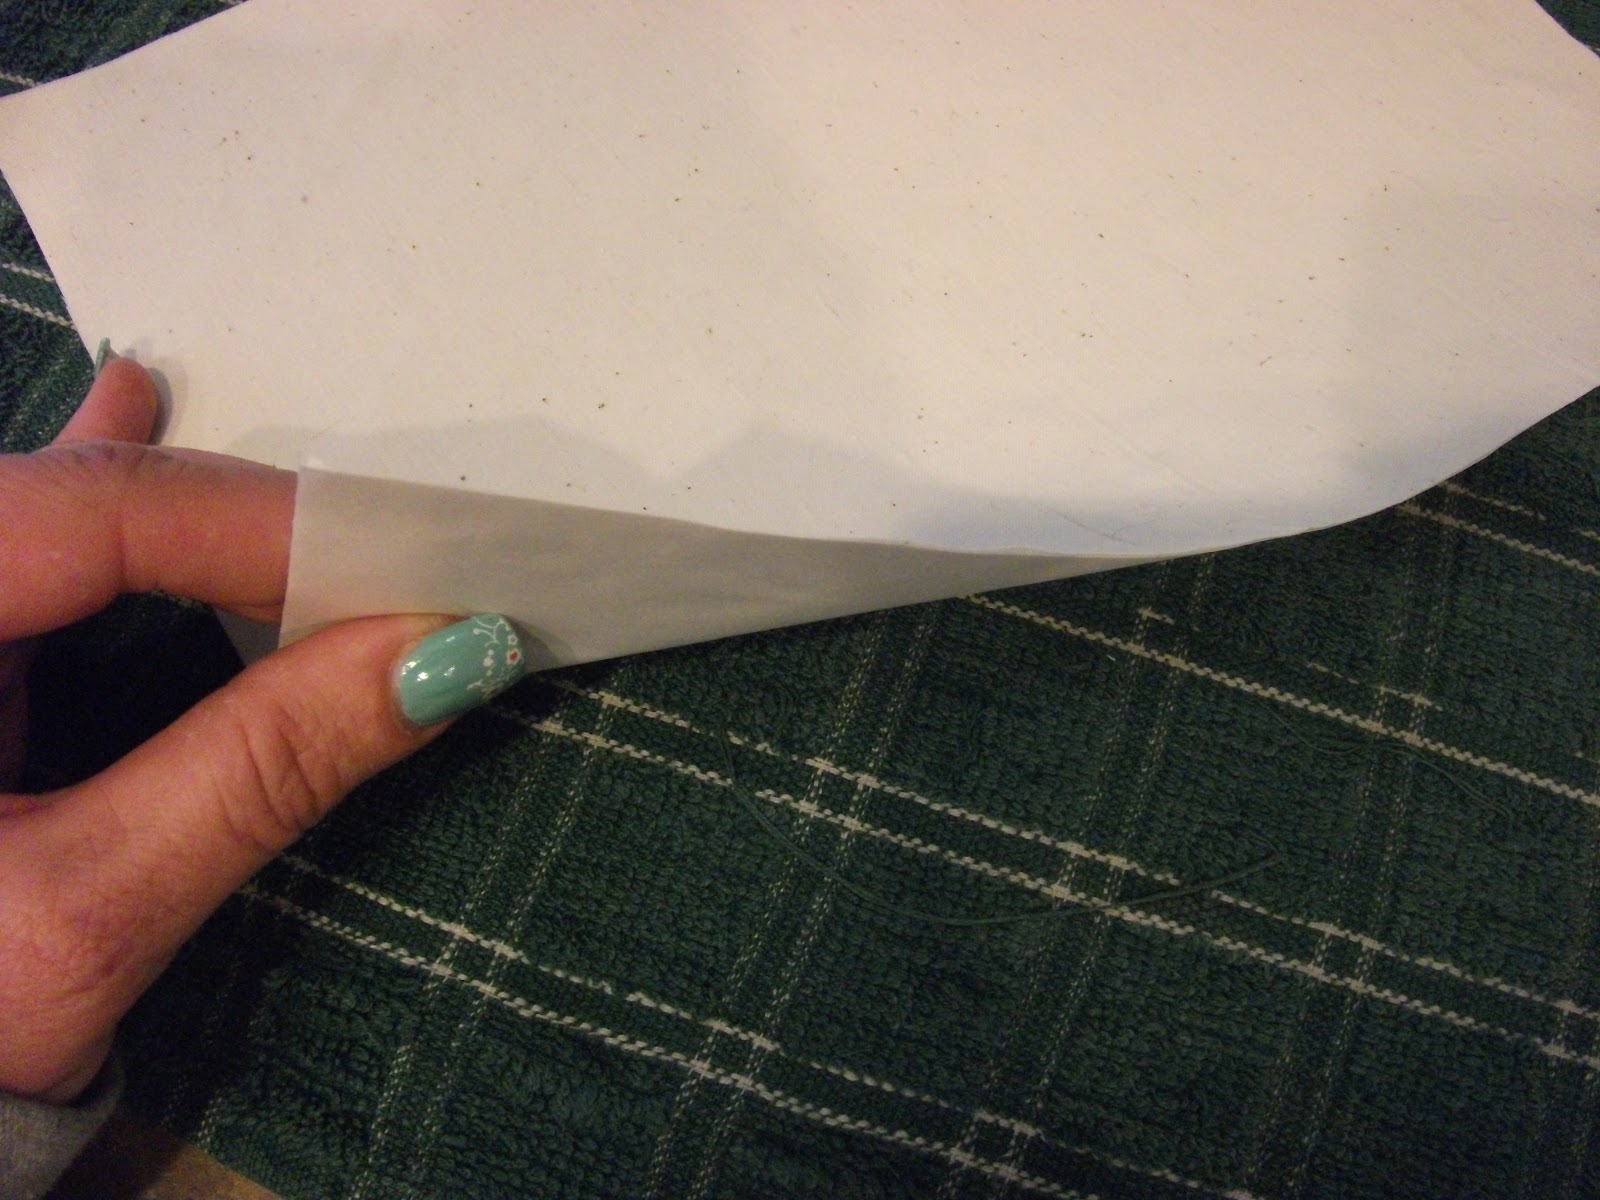
There's also a little tutorial I've done to make this...
Thank you so much for hanging in there with me on this one and I'm soooo happy you stopped in!
Hugs n' Happy stamping
(and not smearing...)
Lisa xx

Our Generous Sponsors


Monday, June 4, 2012

A Smidgen of This and Dollop of That...

So, here's what you can do on a Sunday when you opt NOT to do laundry...
I spent the weekend perusing the plethora of outstanding images located at
 and here are a few projects I created.
A Card
We all have that special friend who would do just about anything with you, even if it made them look like a complete buffoon.  Here's for that friend!
Colored in copics and left clean and simple

A Wallet
(This could make a cute gift card holder too)
I aimed for a faux leather steampunk grunge look and it's ALL made out of paper!

The framed gentleman on the cover is from Nicecrane Designs and is from the Charles Dickens Illustrations.  There is also a clear window sheet covering him to protect the image.
The outside is basic white paper that has been folder embossed, inked, and clear powder embossed.  The inside coordinating paper is from Nicecrane Designs paper pack Grunge Nature A2. 
A few steps of the process...
I completely winged this by looking at an image of a real wallet on the Internet.  I don't have any exact numbers or measurements, but I hope the pictures allude to the process.


A Book Cover and Bookmarks
Using the Princess Nobody II from Nicecrane Designs, I've edited the image on my computer by adding a few words (Read, Dream, Explore) and printed it out onto fabric.  After fitting the stretchy material to the exterior of a book, I've sewn the edges and elastic straps on the inside.  Lastly sewing this image to the outside cover.
I included three bookmarks to match from
 The schools here make it mandatory that every text book is covered for protection. In years past, I would just use a paper grocery sack; however, that tears them too. Using this technique, I think the school and the kids will be pleased. PLUS, you can personalize them with images they like.

Start by selecting an image.  Here I've added words to accompany.
 Cut a sheet of freezer paper and fabric to standard printer paper size.
 Iron fabric onto the shiny side of the freezer paper and trim up neatly.
 Prepare the material base of the cover by sewing edge seams and attaching elastic to corners.
 Sew on your fabric image to the center front of cover.


Well, laundry won't do itself so I'll end the post here.
Thank you SO, SO, SO very much for stopping in and I really hope these projects and wonderful images have spurred some creative ideas for you.  The sky is the limit!
Hugs n' Happy Crafting,
Lisa xx

Challenges I would love to enter:
Our Creative Corner - Embellished Frame
Love To Create - Father's Day or Special Guy
Squigglefly - Make Me Laugh  (The Card)


Sunday, June 3, 2012

Ribbon and Twine and Embossing, Oh my...

Welcome back to another Linky Party at Make It Monday...we have some FANTASTIC news to share with you.  We have some OUTSTANDING new members to our little DT family and I'm so excited for you to meet them.  Click here to see who the four lovely and talented new members of Make It Monday are!  On a very sad note; however, our wonderful Queen of the Circle Card, Mary J is stepping down from our team to make more time for her career and future endeavors.  We will all miss her spunky attitude, witty sense of humor and did I mention circle cards??? :)  However, she will not be completely away from the blog world and still available to be stalked by all of us who love her crafty creations!  It was such a pleasure to DT with you Mary, I will miss you at MIM.

I'm not sure what I've done here, but I think I like it.
 Just a couple details on the assembly of this card.  The card base is actually pink, the same color as the bottom border; however, I cut a piece of a paper doily, rubbed versamark on it, pressed it onto the pink cardstock and then white powder embossed it.  Added some butterflies with copper glitter and glazed them with UTEE, then added distress ink over the entire area. 
The bottom fringe is from a die used to make rolled flowers and rather than roll it, I kept it as the base of the card and mimicked it with a row of white right behind it. 
A white ribbon and striped ribbon and multicolored yarn are set as the divider from light to dark.  A few half cut flowers with white centers and wooden buttons added as well.  The last additions were the butterfly from the background embossing, but this one, I left to be 3D and then added a hello tag.
Keeping with the color scheme I've decorated the inside too.

This card was designed for our #92 Linky party happening over at Make It Monday where we have the very generous sponsor The Pretty Little Ribbon Shop.
We would absolutely love for you to showcase your creative works with us and each other!

Here is my favorite part...
PICK OF THE WEEK!
I can't get over the wonderful coloring here and maybe it's the image with the little girl and her inquisitive and delicate curiosity or the fact that it's colored on Kraft; which creates a stunning look. Either way, it's completely precious and created by Annemarrita at Unique by Annemaritta.  There are more fantastic images of this card to admire by clicking on her link!
Thank you so much for stopping in today and a very warm welcome to my newest followers.  So happy to have you here and thank you for the always encouraging and fun comments you leave.
Hugs n' Happy Stamping...
Lisa xx


Here's the prize!!!


Friday, June 1, 2012

Felt Like Singing...

Hi blogger buddies, welcome back! 
Here is a card I worked on this morning for a few fantastic challenges happening out in blog land. 
The criteria I had to meet on this was distressing, shabby chic, and use felt.  I mentioned that I made it this morning, but I've had certain elements on my desk for over a week.  The original vision was much different, but then I threw in the "add felt" and you could smell the brakes halting to a squealing stop! 
Elements used on the card are free background paper from Far Far Hill, stitching, distress inks and distress crackle paint, burnt orange and copper embossing powders, die cuts, felt, polka dot, ribbon, brads, prima rose, buttons and stampin' up! alphabet stamps (powder embossed letters on the felt for SING) and twine.

I assumed incorrectly that I had several colors of felt and upon retrieving it, found I only had black.  I had a difficult time convincing myself that shabby chic can incorporate black, but after putting this little doozie together, I think it works.  I'll let the jury decide, but I'm pretty happy with it.
Would like to say thank you so much to Linda at Catered Crop for allowing me the opportunity to guest design for their current challenge of using felt.  No doubt, it lived up to it's name and it was certainly a challenge for me, but I honestly enjoyed the experience!
Secondly, my dear friend Sue is hosting a fantastic challenge at Our Creative Corner and she has picked the fabulous genre of Shabby Chic; which I must confess, she reigns at, and I do hope this card will not be too off the mark for what she's looking for. 

Thank you so much for stopping in and I hope you found some inspiration in this card.
Hugs n' Happy Stamping..
Lisa xx

Other Fabulous Challenges That Inspired This Card:
Through The Craft Room Door - #27 Distressing
Southern Girls Challenge - Dying to Diecut or Punch (I've used Diecuts)