Friday, December 5, 2014

Visions of Sugarplums Giveaway Day 5

Welcome back! It's the final day of the incredible Visions of Sugarplums so let's get right down to the fun!

Here are today's links you get to visit and at the end of this post I'll announce the winners of my giveaways.

Step 1
*** Leave a comment FOR Lori (our fabulous host!) ON her blog letting her know you'd like to be entered to WIN in the store giveaways AND her store, Choux Choux Paper Art giveaways***

Host of Visions of Sugarplums:
Lori  @ Choux Choux Paper Art

Store Giveaways:

 Step 2
*** Visit these participating blogs for additional holiday inspiration and leave a comment.   Lori will count each of these comments as an ADDITIONAL entry into the above giveaways. You never know, these blogs might have their own giveaways too! ***

Participating Blogs:
Lisa (you are here)

I have had SUCH a marvelous time seeing all this talent and creativity and I certainly hope you have too! I can't tell you how much I have loved all your visits and very sweet comments and that's why I'm so excited to tell you the winners. Here we go...

S'more Ornament
Pia


Crocheted Elf Hat
Misteejay


Domino Ornaments
Carol from La Crosse


Congratulations winners!!!
Please contact me @ minkimpressions@gmail.com so I can get your goodies in the mail.
Winners have until the 13th of December to claim prize or there will be a re-draw.

Biggest of hugs to you all!
Lisa x

Thursday, December 4, 2014

Visions of Sugarplums Giveaways Day 4

Ho! Ho! Ho! and welcome back to the 4th day of fun as we continue to celebrate festive traditions, crafts, recipes and giveaways at Visions of Sugarplums!
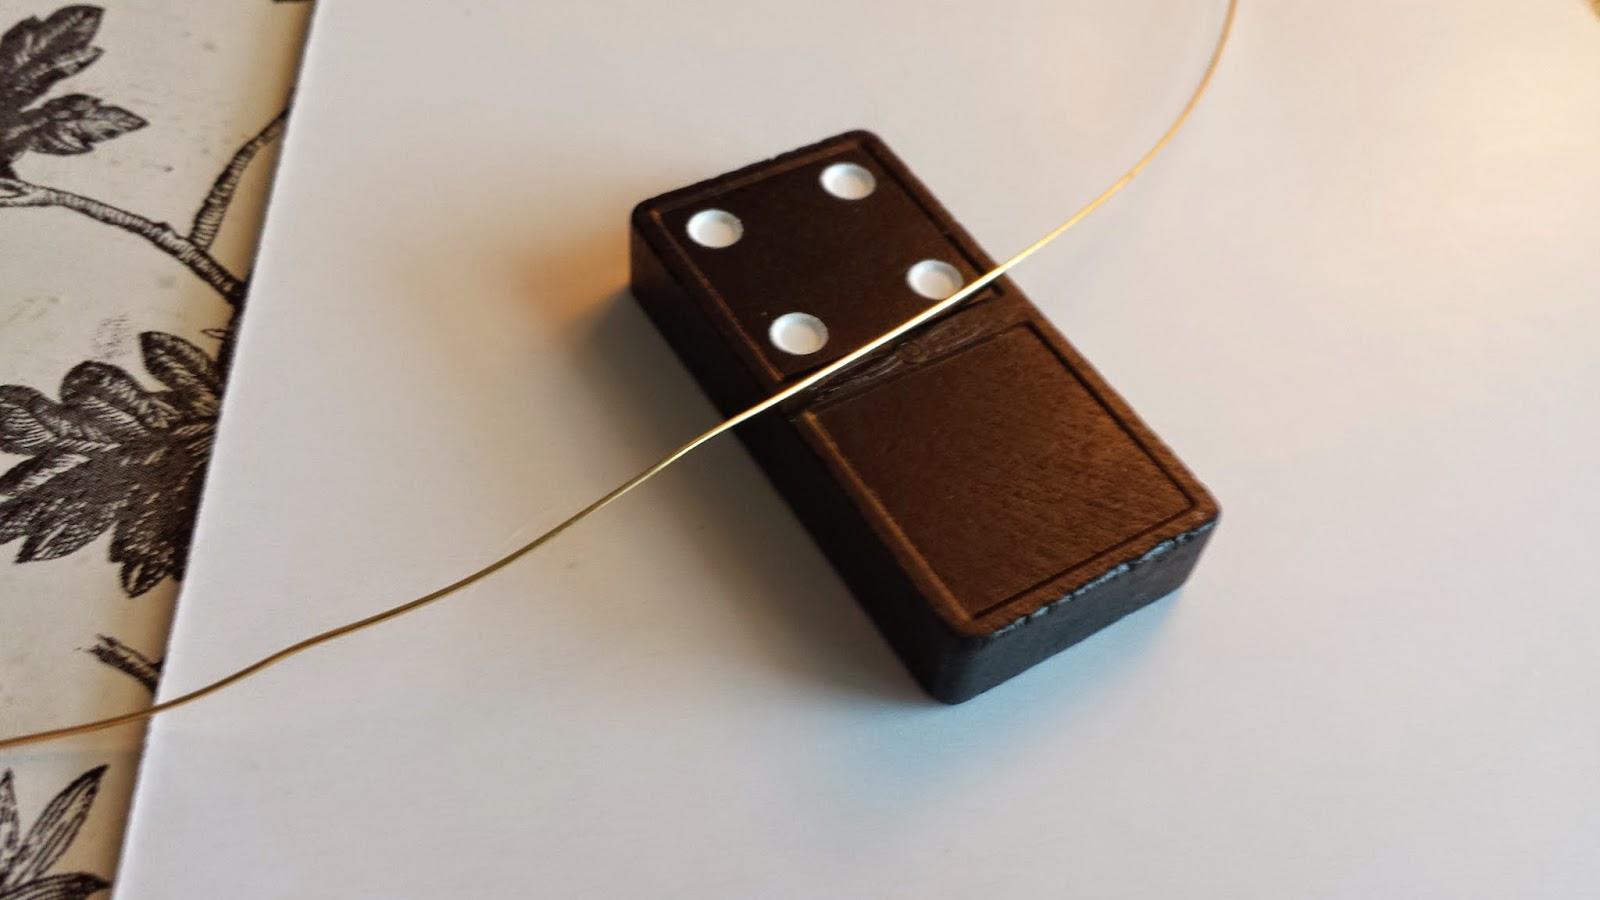
Guess what? I have another giveaway for one lucky winner and this time I am offering up domino ornaments.  Here's how they were made.
Took some wire and wrapped the domino then covered it with Mod Podge and wrapped in music sheets and aged with DI's.
Printed out all the elements that I wanted for each ornament.  These are a set of Mr. and Mrs. Claus that you get to pick out the outfit and dress them. They are each accompanied by a vintage deer, tree, bag of goodies and a free printable of naughty or nice tags. 
Here's a few closeups. One with Santa all dressed up and one with Santa in his thermals.
Here they all are together, ready for a new home!
Just follow these 3 steps and you're on your way...

Step 1
*** Leave a comment FOR Lori (our fabulous host!) ON her blog letting her know you'd like to be entered to WIN in the store giveaways AND her store, Choux Choux Paper Art giveaways***

Host of Visions of Sugarplums:
Lori  @ Choux Choux Paper Art

Store Giveaways:

 Step 2
*** Visit these participating blogs for additional holiday inspiration and leave a comment.   Lori will count each of these comments as an ADDITIONAL entry into the above giveaways. You never know, these blogs might have their own giveaways too! ***

Participating Blogs:
Char
Regina
Mitra
Lisa (you are here)
May

Step 3
***Leave me a comment here and state that YOU would LIKE to be ENTERED to win in my Domino Ornaments giveaway***

Winners of my giveaways will be announced HERE on Friday, December 5th.
Hugs and Best of luck!
Lisa xx


Wednesday, December 3, 2014

12 Tags of Christmas Ornament 10

If you missed my latest Visions of Sugarplums giveaway post, please click here.
Mason Jar Lid 10
I can feel the start of a tear drop building up inside because I know we're so close to finishing up this challenge and that makes me feel like Grumpy cat.  Until then, however, I am having such fun creating my renditions of Linda's tags.  Below are the supplies that I used and how I start the base of every lid before I color it.
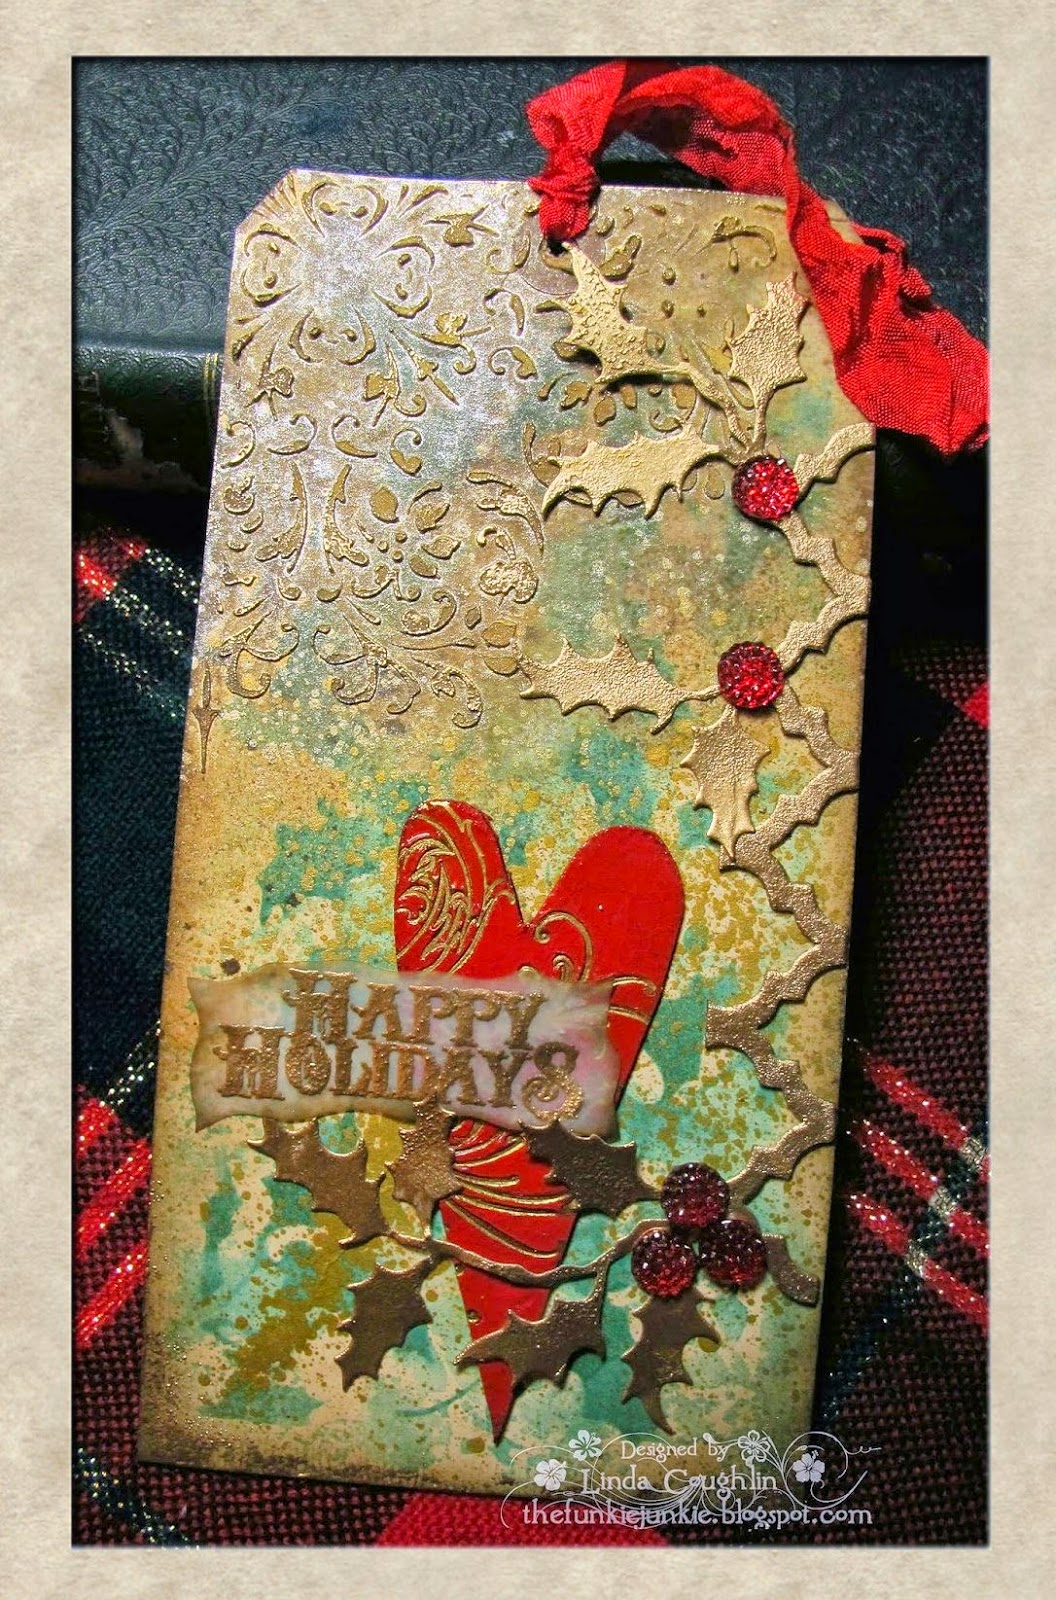
Linda's tenth tag...let me just say, "WOWEE!"  What is not to love with that glorious patina and then the vibrant reds and that luscious golden lattice with holly leaves. I took it all in and had some fun!
That background color pretty much screamed at me, demanding that I include it in my ornament. So, of course, when something is yelling at you, you comply!  Or throat punch it, but that didn't really apply here.  So I made the patina holly.
                                                  They began as white cardstock that was later glazed with clear crackle glaze and then inked with various greens shown above.   Berries of Stickles then finished up.  Couldn't for the life of me keep my thumbs out of it either.... ergo random red shimmers.                                                                                                    
                                                                      The vibrant red mason jar is reflective of the reds on Linda's tag.  I did however have to try this technique I saw recently and it's on making DIY ornaments by Stamptramp.  It makes things look so wonderfully vintage!  She also uses clear plastic in her ornament and I decided to use packaging plastic as well.  It gave me a clear background AND cut the circle while salvaging the opening for hanging, as seen here.

Worse thing under the tree is a package of tighty whities.
Don't forget that!!
So let's all keep our inner child happy and remember back when..
Now you can see why I like the packaging plastic. When it hangs on the tree in front of the light it looks like they are sneaking downstairs by the light of their tree to look at all the presents Santa brought them!

Only 2 left to go (sniff, sniff, snort), but there's still time to play along. Thank you so much to Linda for the fabulous 12 Tags of Christmas challenge and to her incredible store, The Funkie Junkie Boutique, for sponsoring the grooviest prizes. 
 I'd also love to play along at Craft Hoarders Anonymous Challenge blog for their Celebrate the Season Challenge.

Hugs and Happy Crafting,
Lisa xx

Visions of Sugarplums Giveaway Day 3

It's day three of the Visions of Sugarplums Giveaways and we're all having a blast! I hope if you haven't joined in the fun you will start now. There is SO much to enjoy and SO easy to win. 
Speaking of winning, I have another giveaway for you today on my blog and it is a Christmas hat that I crocheted WITH elf ears!! 
My grandmother came out to stay with us for a week and while she was here, she and I crocheted hats for everyone in our family. We decided this year it would be a fun accessory for our family picture, but I didn't want to keep the fun all to myself, so I am offering up this hat to one lucky winner.  You could use it for photographs or let whoever hands out presents at your home to wear it.  

Step 1
*** Leave a comment FOR Lori (our fabulous host!) ON her blog letting her know you'd like to be entered to WIN in the store giveaways AND her store, Choux Choux Paper Art giveaways***

Host of Visions of Sugarplums:
Lori  @ Choux Choux Paper Art

Store Giveaways:

 Step 2
*** Visit these participating blogs for additional holiday inspiration and leave a comment.   Lori will count each of these comments as an ADDITIONAL entry into the above giveaways. You never know, these blogs might have their own giveaways too! ***

Participating Blogs:
  Char
   Lisa (you are here)
Sandy
Regina
May

Step 3
***Leave me a comment here and state that YOU would LIKE to be ENTERED to win in my Elf Hat giveaway***

Winners of my giveaways will be announced HERE on Friday, December 5th.
Hugs and Best of luck!
Lisa xx

Monday, December 1, 2014

Visions of Sugarplums Giveaway Day 1

Hello, hello, hello!
I'm so happy to be participating again this year in the ever fabulous...

There are going to be tons of incredibly useful holiday tips, tricks, ideas, inspirations, recipes and wonderful giveaways and prizes.  So please check back each day at Choux Choux Paper Art to find out who's playing and where to go.

I have for you a little photo tutorial showing how to make handmade S'more ornaments for the tree.
Begin by molding Sculpey clay into marshmallow shapes. Salvage sticks from your yard and skewer the faux marshmallows.  Place into the oven at 275 degrees and bake for roughly 30 minutes. I would check periodically depending on the size of your desired marshmallow.
While they are baking you can cut out the Graham Crackers and Chocolate.  I used old BINGO cards for the Graham Cracker and cork for the chocolate and painted each with TH paints. Make sure to punch holes in the centers of them so that the sticks go through for easy hanging.
Once the marshmallows are cooled, the fun of painting begins. I used TH distress paints for all of these and added a little 'charred' look to them. Snow Tex was used for the bubbling marshmallow look.
I hot glued the pieces all together and then decorated their little tops for cuteness on the Christmas tree. 
And guess what?  This set of S'more ornaments I am giving away!
Instructions on how to win are posted below.

Step 1
*** Leave a comment FOR Lori (our fabulous host!) ON her blog letting her know you'd like to be entered to WIN in the store giveaways AND her store, Choux Choux Paper Art giveaways***

Host of Visions of Sugarplums:
Lori  @ Choux Choux Paper Art

Store Giveaways:

 Step 2
*** Visit these participating blogs for additional holiday inspiration and leave a comment.   Lori will count each of these comments as an ADDITIONAL entry into the above giveaways. You never know, these blogs might have their own giveaways too! ***

Participating Blogs:
Lisa (you are here)

Step 3
***Leave me a comment here and state that YOU would LIKE to be ENTERED to win in my S'more Ornament giveaway***

Winners of my giveaways will be announced HERE on Friday, December 5th.
Hugs and Best of luck!
Lisa xx


Sunday, November 30, 2014

12 Tags of Christmas Ornament 9

Mason Jar Lid 9
Don't tell on me.  I should be cleaning and cooking for tomorrow, but this latest tag from The 12 Tags of Christmas would not leave my brain alone. 
So let's have a gander....
 
I, for the first time (and quite possibly last) used a fine sheet of gold leaf metal to cover my jar lid. I did like most times and ignored instruction, causing the most sticky gilded mess ever. I looked like I had tried to tar and feather myself in bling.  Needless to say, it got completed and once attached, I applied 'glob dots' of TH Distress paints in Black Soot and Antique Linen for highlights. THEN, if I wasn't plastered up enough (and I don't mean in the fun liquid way) I added even more sticky stuff to seal it all in with Mod Podge.
Setting that lid waaaay out of my sight for a bit, I focused on the inside of the lid for the background. I decided to have  my first play with the Tim Holtz Compendium of Curiosities Challenge #16 and whereby I am sworn to secrecy and cannot, out of respect and utmost admiration for Tim and his wicked groovy brain, divulge the technique steps. Except for to say that the challenge is Layering Stencil: Embossing, pg. 50.  That much I can say and the above picture shows some TH goodies I used to make mine.
Now to the 3rd step in this ornament. The inspiration piece that really jumped off of Linda's tag for me....the vellum!  Yes indeedy, Linda's creation is oozing with distinguished and lavish beauty and took my breath away, but I was hyperventilating at the sight of her translucent yumminess she included. My entire ornament is designed around the black, gold and cream colors and vellum.
Above you can see where I've drawn on the vellum.

Here I've added some liquid glass and opalescent 'snow' flakes to make my frozen lake.
Oh, one other thing. Linda's snowflake has musical notes peeking out from the rosette and I really loved that so I coated my traditional plastic snowflake with decoupage and then fitted a sheet of music to it best I could.  
Pine cones and foliage were added that mirrored the stamping on Linda's tag also.
Then the little skaters and the scenery was complete.
   And there you have it!  Ornament #9 completed and ready for the tree.  Speaking of tree, I need to get up, decorate and start cooking for the family.  
Before I go, thank you so much to The Funkie Junkie Boutique for sponsoring not only Linda's challenge at The Funkie Junkie but also for CC3C.  I'd also like to add this little ornament to the Frilly and Funkie Challenge for their inspired ideas for A Gift From the Heart.  My grandmother Jerry's birthday is on Christmas day and she LOVES to collect ornaments for her tree. It's the perfect gift!

For those of you whom celebrate, Happy Thanksgiving to you and for those that do not...I hope you have a fabulous and relaxing weekend.
Hugs to you and ALL and happy crafting,
Lisa x

Monday, November 24, 2014

Nicecrane Design Ornaments....

I am feeling so much better today and I believe that the skin under my nose is finally starting to heal...yeah! Since I do feel more human, I decided it would be good to renew my relationship with the elliptical machine again....SO stupid! 
Funny that I thought the flu was trying to kill me. Let me not get started on that death machine...
Anywho...
I was able to shuffle myself into the craftroom this weekend and decided that I would have a little play with Ignacio's latest images Funny Christmas Ball I and II.
They began on Silhouette cut rosettes
and then for some idiotic reason I thought learning origami at 4 in the morning wouldn't be taxing at ALL on my brain...  Let's not go there either!
But lookie here, I did it!  I would recommend a full 8 hours of sleep and perhaps actually finishing one cup of coffee before starting, but if you'd like to make these as well...here's the link.
HINT: They give you instructions on how to fold paper to make the beginning hexagon shape...I have a cutting machine that cut one out for me and then I varied the sizes for small, medium and large.

Each rosette is double sided and layered with an ornament ball.  


The foliage and pinecone are made from the TH Tattered Pinecone Sizzix Alterations. Papers are from 7 Gypsies and all colored surfaces are with TH distress paints.
The files are so much fun to play with. Ignacio makes each sheet the with the perfect amount of layering circles and it's up to you how you'd like to decorate them. I think these will be going on some gifts this year.
Thanks EVER so much for visiting me!
Hugs n' Happy Crafting,
Lisa x
Psst...also this...
Coming SOON!